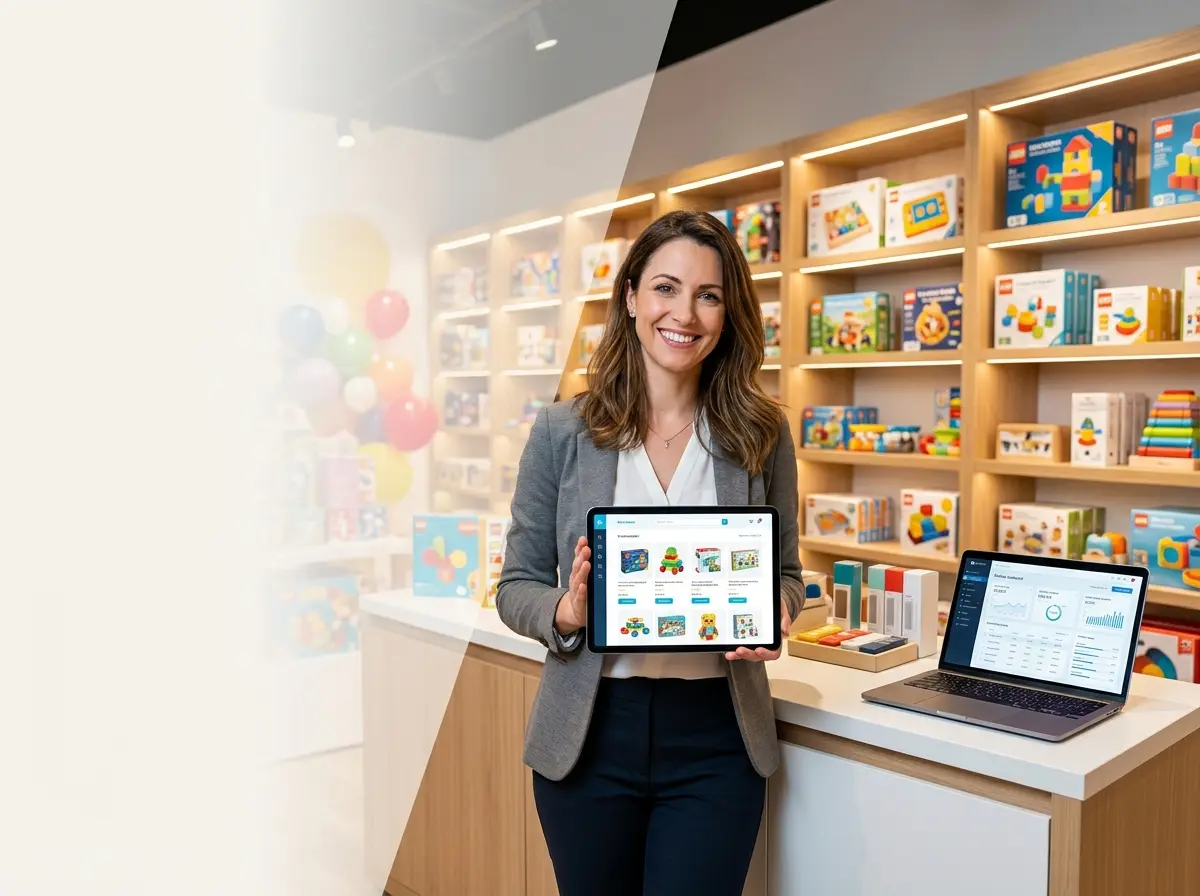
So, You Want to Sell Things on the Internet?
Let’s be honest. You’ve mastered the art of the perfect product display. You can fold a t-shirt with the precision of a surgeon, and your customer service charm could disarm a bomb. Your brick-and-mortar store is your masterpiece. But your online presence? It’s either a ghost town or a relic from the dial-up era, complete with a visitor counter stuck at "47." You’ve heard the whispers—"omnichannel," "digital transformation," "e-commerce is king"—and frankly, it sounds exhausting. You're busy running a real store with real people.
But what if launching an online store wasn't like climbing Everest in flip-flops? What if it was more like… assembling a surprisingly sturdy piece of IKEA furniture? A little confusing at first, maybe one or two moments of quiet desperation, but ultimately doable and incredibly satisfying. The truth is, you don’t need a Silicon Valley budget or a team of coding wizards to get started. You just need a plan, a little bit of grit, and the willingness to accept that "perfect" is the enemy of "done." This is your no-nonsense guide to getting your products online without losing your mind.
Step 1: Laying the Digital Foundation (Without Crying)
Before you can start hearing the sweet, sweet sound of online order notifications, you need to build the house. Don't worry, we're using pre-fabricated walls and a very simple blueprint. This is about choosing the right tools and getting your products ready for their digital debut.
Choosing Your Battlefield: Platforms for the People
The thought of "building a website" might conjure images of tangled code and late-night caffeine binges. Let's scrap that. Today, all-in-one e-commerce platforms are your best friend. They’re like renting a beautiful, fully-equipped storefront in a digital mall. Here are the big three:
- Shopify: The undisputed heavyweight champion. It’s built for selling, and it does it exceptionally well. It’s straightforward to set up, handles payments securely, and has an app for basically anything you can dream of. The trade-off? A monthly subscription fee and transaction fees if you don’t use their payment processor. It's the "get-down-to-business" choice.
- Squarespace: If your brand is all about stunning visuals, Squarespace is your guy. Known for its beautiful, drag-and-drop templates, it’s a fantastic choice for lifestyle brands, boutiques, and anyone who wants their site to look like it belongs in a design museum. Its e-commerce features are solid, though not quite as robust as Shopify's.
- Wix: The jack-of-all-trades. Wix offers immense flexibility with its editor, which can be both a blessing and a curse. It’s a great option if you want a lot of creative control, but it's easy to get lost in the weeds. Their e-commerce tools are capable and have improved significantly over the years.
Our advice? Don't overthink it. Pick one that feels right and run with it. Most offer free trials, so spend an afternoon clicking around. This isn't a lifetime commitment; it's a smart business decision.
Product Photography That Doesn't Look Like a Crime Scene Photo
You could have the most amazing product in the world, but if the photo is dark, blurry, and features your cat’s tail in the corner, nobody is buying it. Your smartphone is more than capable of taking great product photos. You just need to follow a few simple rules:
- Find the Light: Natural light is your best friend. Set up near a large window. Turn off your overhead lights to avoid weird yellow glows. Don't use your flash. Ever. We mean it.
- Create a Simple Background: A clean, solid background makes your product the star. A piece of white poster board from the craft store works wonders. Prop it up against a wall and let it curve down onto a table to create a seamless "infinity" backdrop.
- Consistency is Key: Shoot every product from the same angles (front, back, side, close-up). This makes your entire store look polished and professional, tricking people into thinking you hired a fancy photographer.
Writing Descriptions That Actually Sell
A product description that just says "Red Scarf. 100% Wool." is a missed opportunity. This is your chance to be the charming salesperson your customers know and love. Instead of just listing features, sell the feeling. Why should someone buy this? How will it make their life better, cozier, or more stylish? Infuse your brand's personality into the text. Is it "a meticulously crafted, crimson merino wool scarf designed for brisk autumn walks"? Or is it "the coziest darn scarf you'll ever wrap around your neck—perfect for surviving over-air-conditioned offices and chilly evenings"? Tell a story, and you'll sell a product.
Connecting Your Worlds: Online and In-Store
Your new e-commerce site isn't a separate business; it's the digital front door to the brand you've already built. The experience should feel connected. If your physical store is warm, friendly, and helpful, your website shouldn't feel like a cold, impersonal vending machine. The goal is to make your online presence an authentic extension of your in-store magic.
Crafting a Unified Brand Experience
Think about what makes your store special. Is it the personal recommendations? The cheerful greeting at the door? Translate that online. Use the same colors, fonts, and tone of voice. Most importantly, bridge the gap by promoting one channel on the other. Your physical store is now your best marketing tool for your website. Have signage at the checkout counter. Put a slip of paper with your web address in every bag. And you can get even more proactive. For instance, while you’re greeting shoppers, your in-store assistant Stella can be programmed to say, “Welcome! Did you know you can also shop our entire collection on our brand new website? We’re even offering 10% off your first online order!”
This simple, friendly mention from Stella instantly connects the physical and digital worlds for your customers. She can drive traffic to your new site and build awareness without your staff having to remember to mention it to every single person who walks in. It’s about creating a seamless loop where your in-store experience supports your online sales, and vice-versa.
Step 2: The Launch and Beyond (Don't Panic!)
You’ve built the site, you've photographed the products, and you've written descriptions that would make a novelist weep. Now it's time to flick the switch. Launching can feel anticlimactic, but the work that follows is what separates the successful online stores from the digital dust bunnies.
The 'Is This Thing On?' Pre-Launch Checklist
Before you announce your new digital digs to the world, do a final sweep. This is not the time to "wing it." Grab a friend (or a very patient family member) and have them run through this list:
- The Checkout Test: Place a real order. Use a discount code. Does the payment go through? Does the confirmation email arrive? Is the shipping calculated correctly? Find and squash these bugs before a real customer does.
- The Mobile Experience: More than half of all online traffic comes from mobile devices. Look at your site on your phone. Is it easy to navigate? Are the pictures clear? Is the text readable without pinching and zooming like a detective in a movie?
- The Proofread Pass: Read every single word on your site. Then read it again, out loud. Typos and grammatical errors erode trust and make you look unprofessional.
Announcing Your Arrival
Your store is live! Now… tell people. This doesn't require a Super Bowl commercial. Start with the low-hanging fruit. Announce it on your social media channels (if you have them), send an email to your customer list, and—most importantly—leverage your physical store. Put up a big, beautiful sign. Have your staff mention it. Create a small, exclusive "launch week" discount for in-store customers to use online. This rewards your loyal local shoppers and encourages them to be your first digital customers.
Shipping: The Not-So-Glamorous Final Hurdle
Ah, shipping. The part where you have to put things in boxes. Don't get paralyzed by the options. To start, keep it brutally simple. Offer one or two flat-rate shipping options. A popular strategy is to offer free shipping over a certain threshold (e.g., "Free Shipping on Orders Over $75!"). According to studies, this can increase the average order value by as much as 30% because customers will add more to their cart to avoid the shipping fee. Get some boxes, a roll of tape, and a scale. You can print shipping labels directly from platforms like Shopify. You don’t need a fulfillment center on day one; you just need a plan.
A Quick Reminder About Your In-Store MVP
While you're becoming an e-commerce mogul, don't forget the heart of your business—your physical store. Your new website will bring new challenges and opportunities, and having a reliable, automated assistant like Stella on your team can free up crucial time. She ensures every in-store customer is greeted and informed, so you and your staff can focus on managing inventory for two locations, packing online orders, and providing that amazing service that started it all.
Conclusion: Just Press 'Go'
Building an e-commerce store is no longer a monumental task reserved for mega-corporations. It's an accessible, achievable goal for any small retailer ready to expand their reach. The key is to start simple. You don't need every bell and whistle on day one. You need a clean, functional site that showcases your products and makes it easy for customers to buy them.
Your first online store won't be your last. It will evolve. You'll learn what works, what doesn't, and what your customers want. But you can't learn any of that until you start. So pick your platform, snap some photos, and open your digital doors. The internet is waiting.